Table of Contents
Getting Started
More Classifieds is Kenya's digital marketplace connecting buyers with thousands of verified businesses and sellers across retail, services, real estate, automotive, food, and more. As a buyer, you can browse products and services, place orders, save items to your wishlist, chat directly with sellers, and promote your own listings through banners.
You can browse the marketplace without an account. However, to place orders, save items, chat with sellers, or create banners, you will need to sign up for a free buyer account.
Supported on all devices
More Classifieds works on desktop browsers, tablets, and mobile phones. The interface adapts automatically to your screen size — no app download required.
Creating an Account
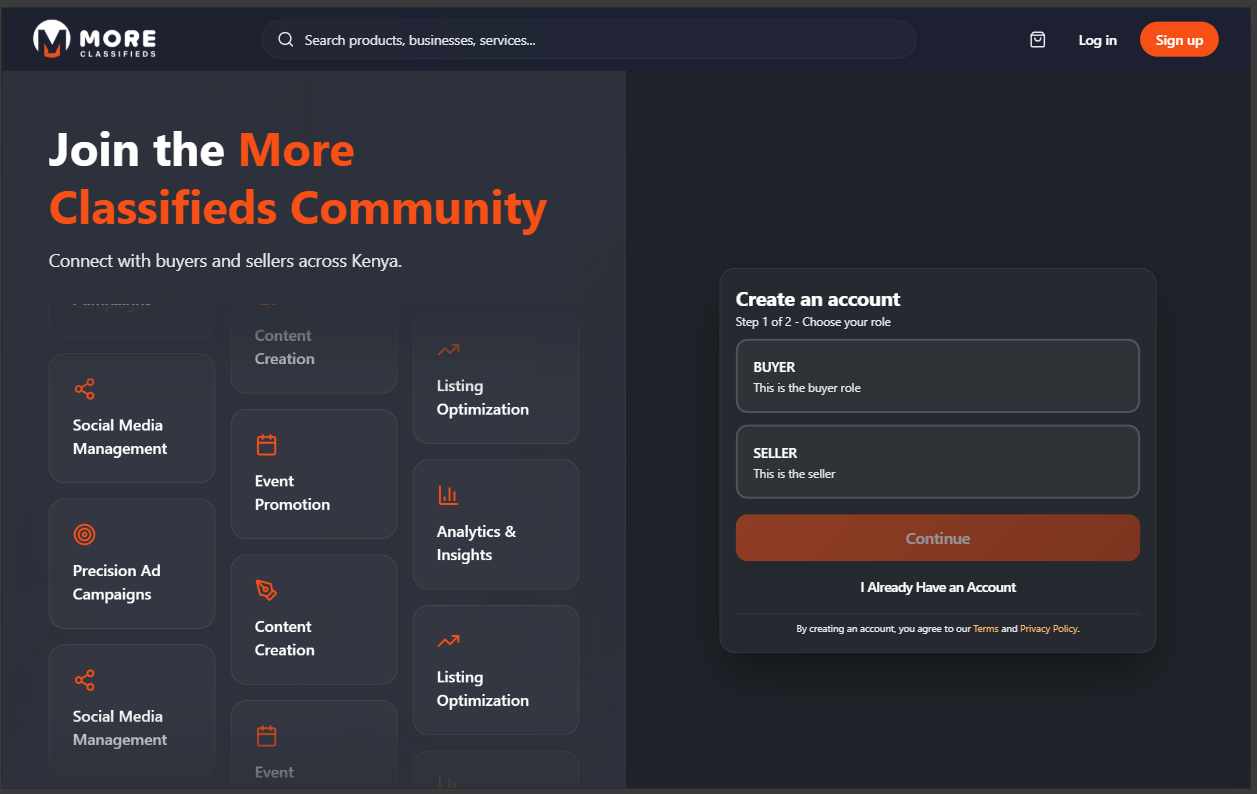
Click Sign up in the top-right corner of the homepage. Buyer registration takes two steps.
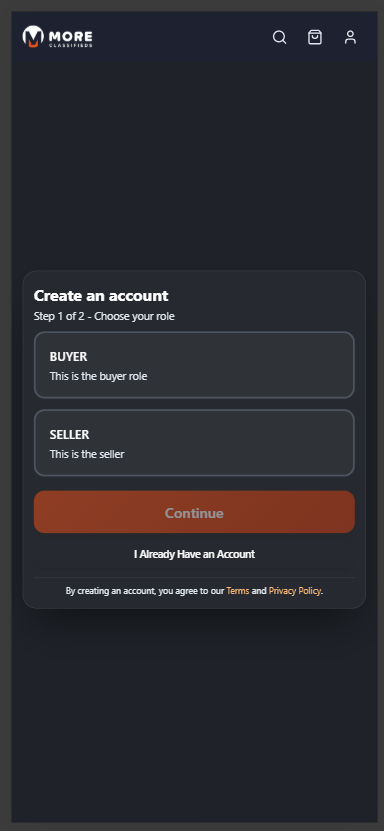
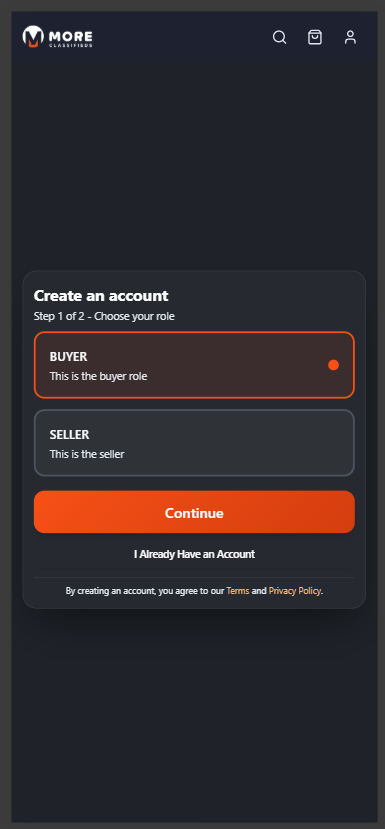
Step 1: Choose Your Role
Two role cards are shown — Buyer and Seller. Click the Buyer card (it highlights with an orange border) then click Continue. Sellers get an extra account-type step; buyers go straight to your details.
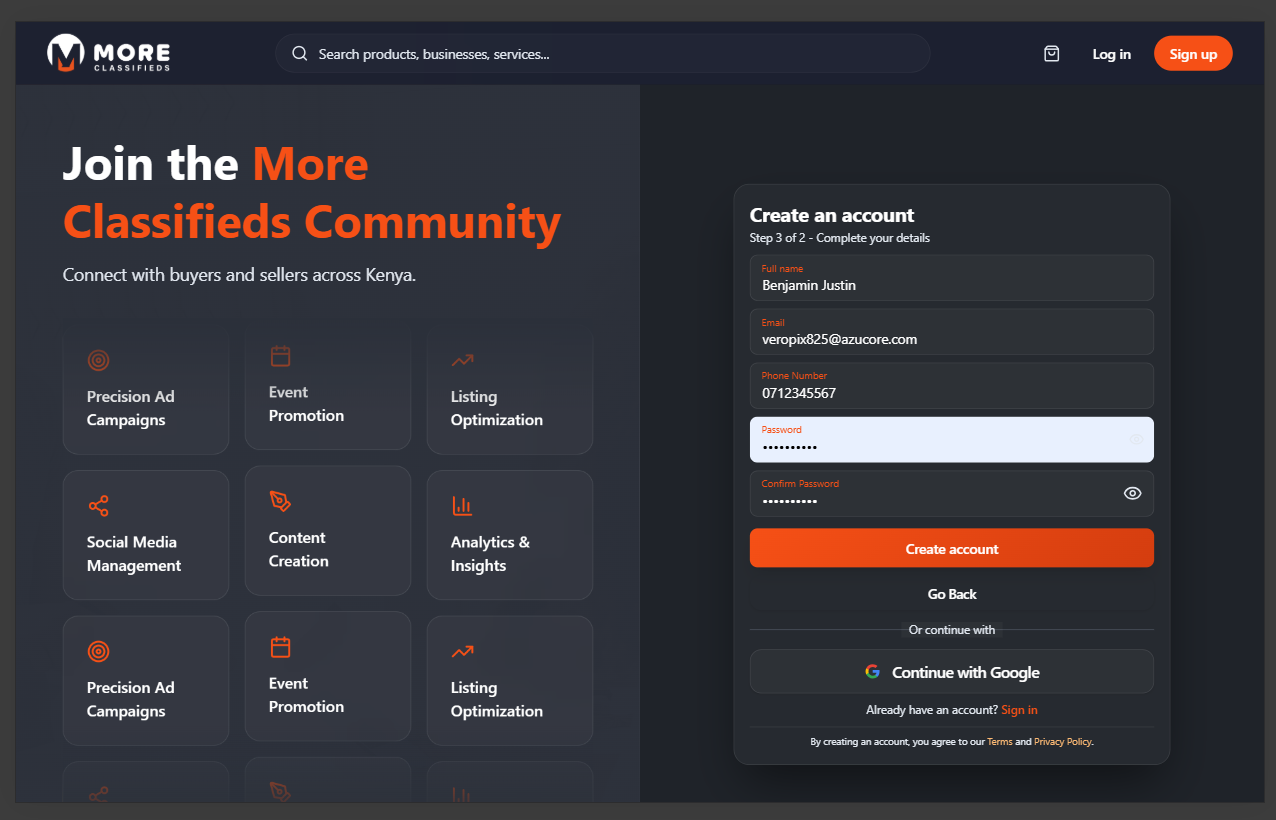
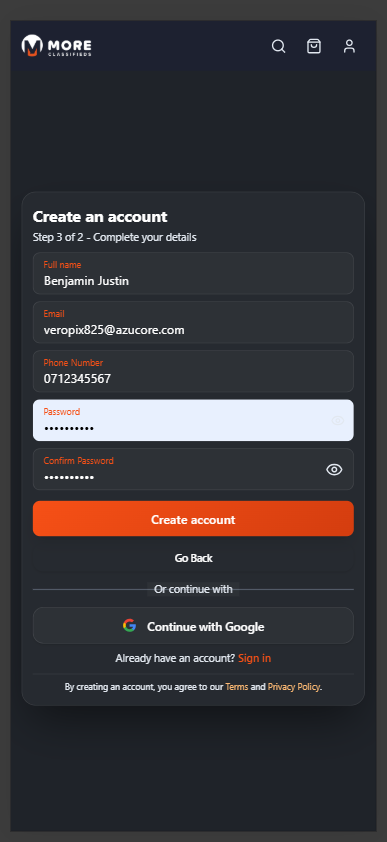
Step 2: Your Details
Fill in your account details:
- Full Name — Your first and last name.
- Email — Used to log in and receive notifications. Optional if you use a phone number.
- Phone Number — Your Kenyan mobile number (e.g. 07XXXXXXXX). Optional if you use email.
- Password — Minimum 6 characters.
- Confirm Password — Must match the password above.
Alternatively, click Continue with Google to sign up instantly using your Google account. Then click Create account.
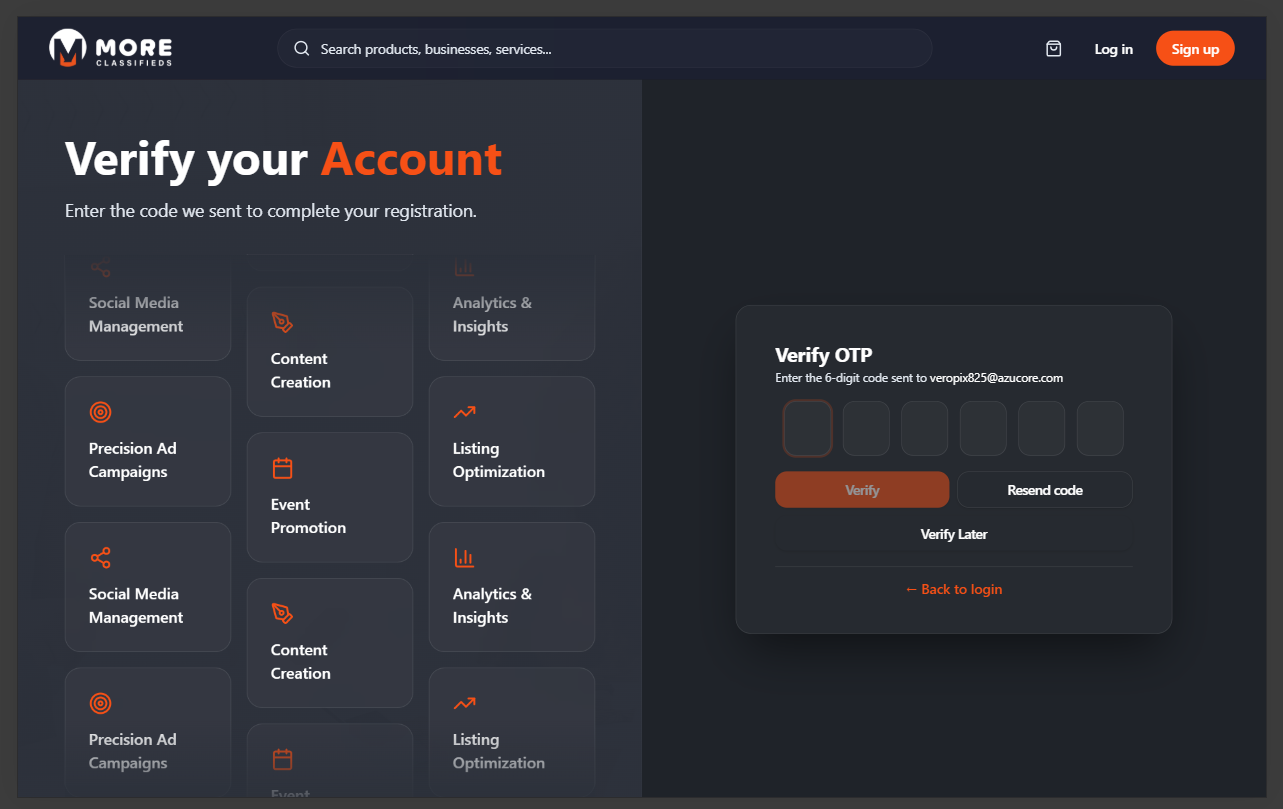
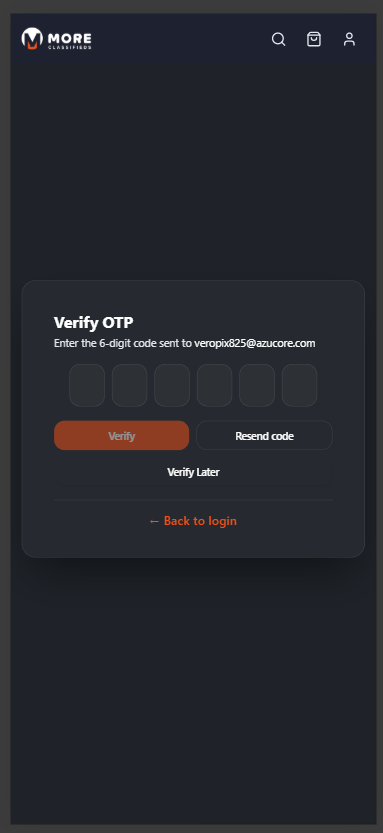
Account Verification (OTP)
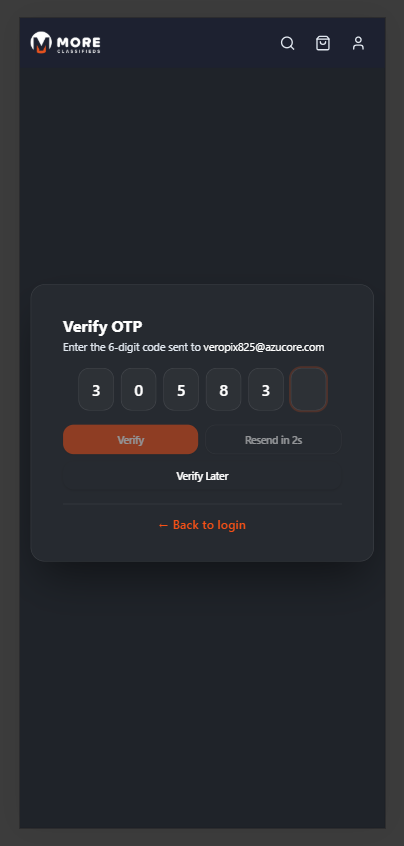
Immediately after creating your account, a 6-digit One-Time Password (OTP) is sent to your registered email address. Enter each digit in the boxes provided and click Verify.
If you did not receive the code, click Resend code after the countdown timer expires. You can also click Verify Later to skip for now — some features will be restricted until your account is verified.
Once verified, a green banner confirms success: "Your account has been verified. Please sign in to continue." You are then taken to the sign-in page.
Check your spam folder
If the OTP email doesn't arrive within a few minutes, check your spam or junk folder.
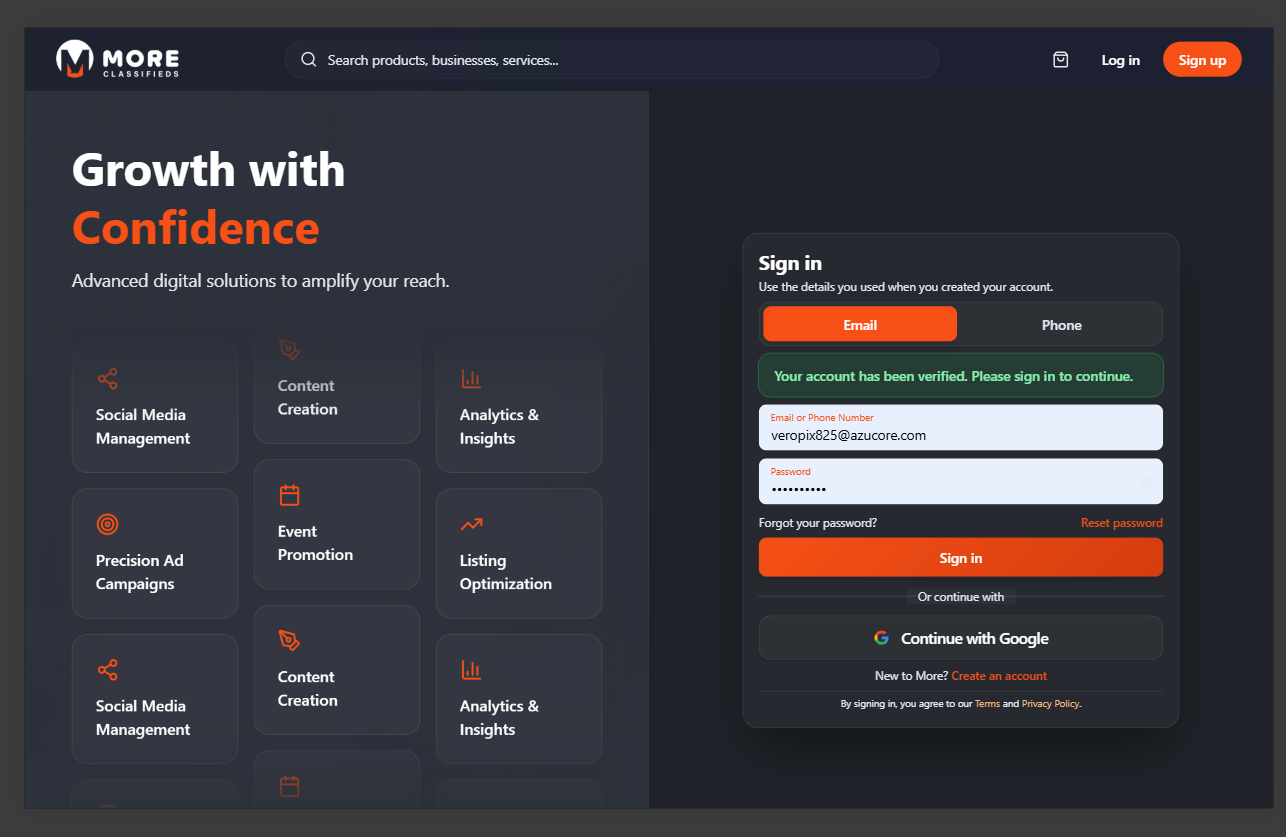
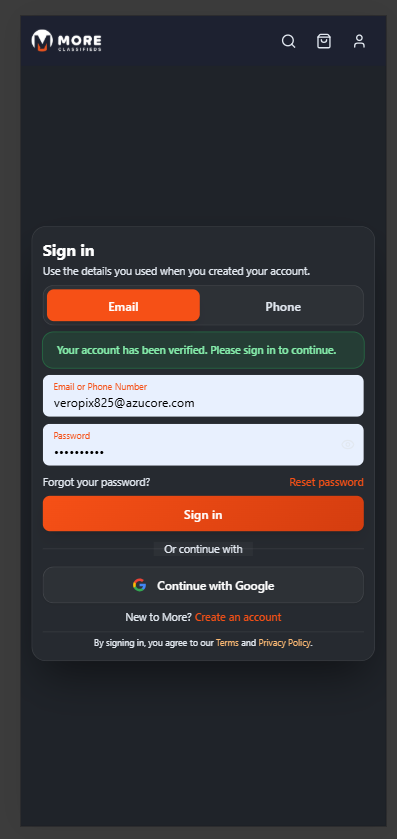
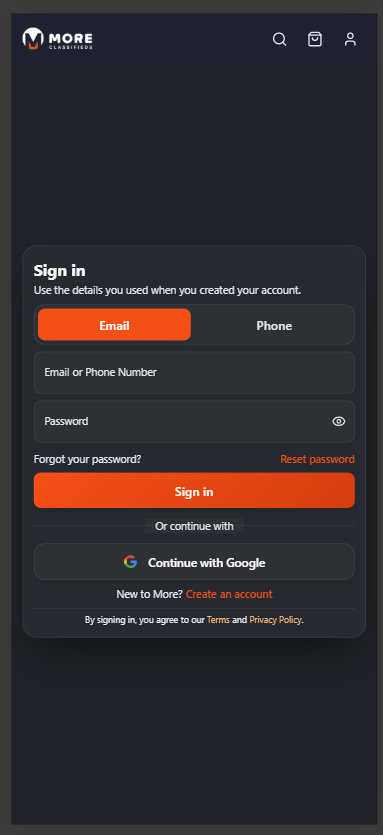
Signing In
Once your account is verified, click Log in in the top-right corner of any page. You can sign in using:
- Email — Enter your registered email and password, then click Sign in.
- Phone — Switch to the Phone tab and enter your registered phone number.
- Google — Click Continue with Google for passwordless sign-in.
Click Reset password next to "Forgot your password?" if you need to recover access to your account.

Your Dashboard Overview
After signing in you land on your buyer dashboard. The layout is divided into two areas:
- Left sidebar — Fixed navigation listing all your account sections. On mobile, open it by tapping the menu icon in the top-left. Each item shows a badge when there is something requiring your attention (unread messages, items in cart, etc.).
- Main content area — Fills the rest of the screen and updates when you select a section from the sidebar. The top of the page always shows the site-wide header with search, cart, wishlist, and your account avatar.
To return to the marketplace at any time, click Marketplace at the top of the sidebar or tap the home icon in the site header.
| Section | What it does |
|---|---|
| My More Account | Your profile, addresses, payment methods, and account stats |
| Chats | Direct messages with sellers — badge shows unread count |
| Orders | History and status of all your purchases |
| Notifications | Order updates, messages, and system alerts |
| My Wishlist | Products you have saved for later — badge shows saved count |
| Shopping Cart | Items added to cart ready for checkout — badge shows item count |
| Checkout | Complete a pending purchase for a cart group |
| My Banners | Create and manage your own promotional banners |
| Popote | Earn rewards by registering sellers as a field agent |
| Buyer Manual | Opens this guide in a new tab |
My More Account
Click My More Account in the sidebar. The top shows four quick-stat cards:
- Total Orders — Number of orders placed.
- Active Cart Items — Items currently in your cart.
- Wishlist Items — Products saved to your wishlist.
- Account Credits — Any credits available on your account.

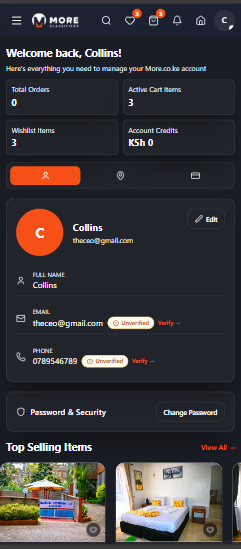
Profile tab
Your profile card shows your avatar (initials), full name, and email. Click Edit to update your details. Each field shows a verification status:
- Email — Green Verified badge once confirmed.
- Phone — Orange Unverified badge with a Verify → link to trigger SMS verification.
Addresses tab
Save delivery addresses so you don't have to re-enter them at checkout. You can add multiple addresses and set one as your default.
Payment Methods tab
Manage saved payment methods (M-Pesa, card) for faster checkout.
Password & Security
Scroll down to the Password & Security section and click Change Password to update your login password.
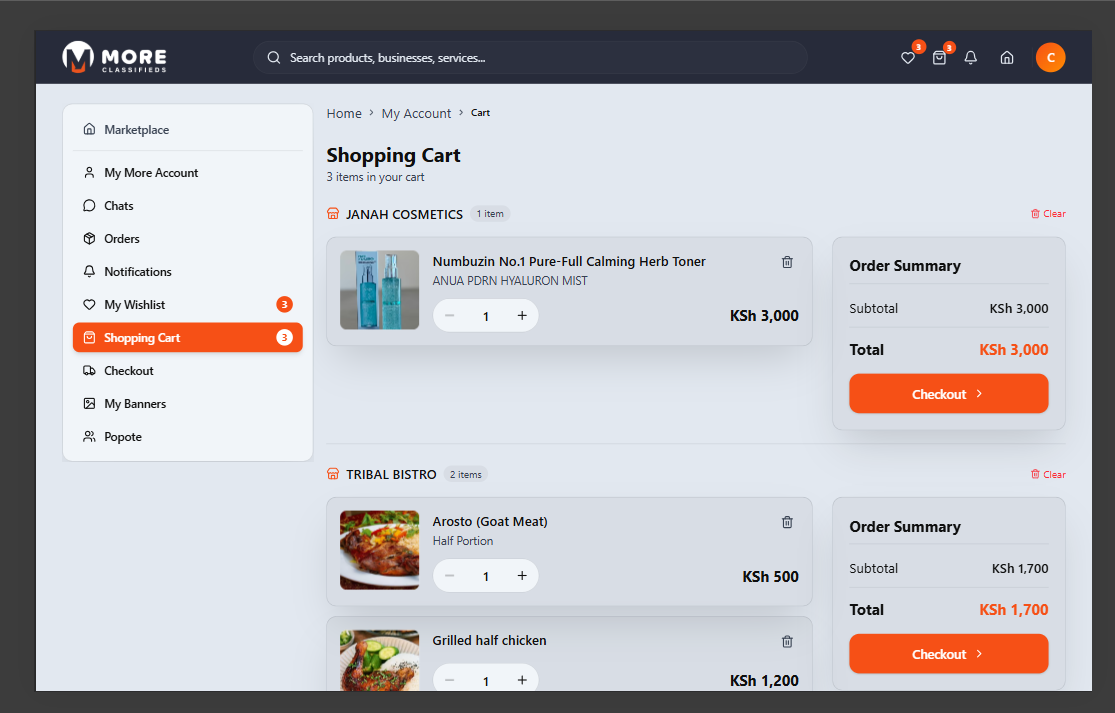
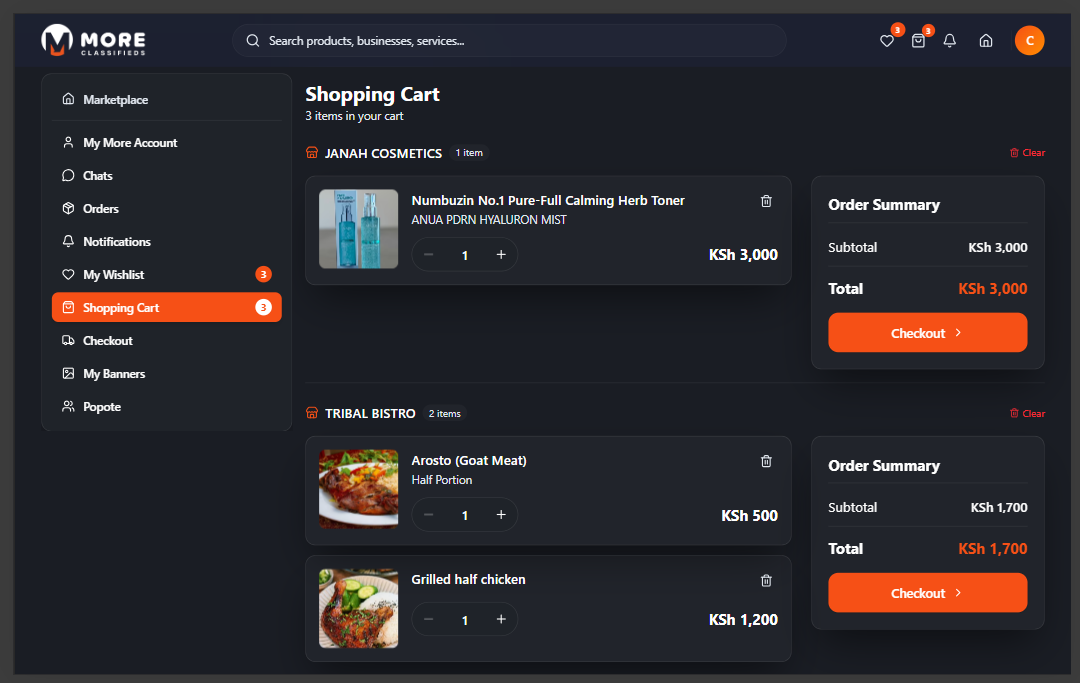
Shopping Cart
Add items to your cart by clicking Add to Cart on any product page. Click Shopping Cart in the sidebar — or the cart icon in the top navigation — to view your cart. Items are grouped by seller.
For each item you can adjust the quantity, remove it, or clear all items from a seller. The Order Summary panel on the right shows the subtotal and total for each seller group. Click Checkout on a seller group to complete that purchase.
Guest cart
Items added before signing in are saved to your account once you log in.
Checkout & Orders
Checkout
After clicking Checkout on a seller group in your cart, you are taken through the checkout flow:
- Delivery address — Select one of your saved addresses from the dropdown, or enter a new one. The address is used to calculate delivery and communicate your location to the seller.
- Delivery options — Choose between available options such as door delivery or self-pickup (where the seller offers it). Delivery fees are shown before you confirm.
- Payment — All orders are paid on delivery. You settle the amount in cash (or via M-Pesa) directly with the seller or courier when your order arrives.
- Review and confirm — A summary of your items, delivery address, and total is shown. Click Place Order to complete. You will see a confirmation screen and the order appears in your Orders tab.
Each seller checks out separately
If your cart has items from multiple sellers, you check out each seller group independently. Each produces its own order with its own order number. Payment is collected on delivery for each order.
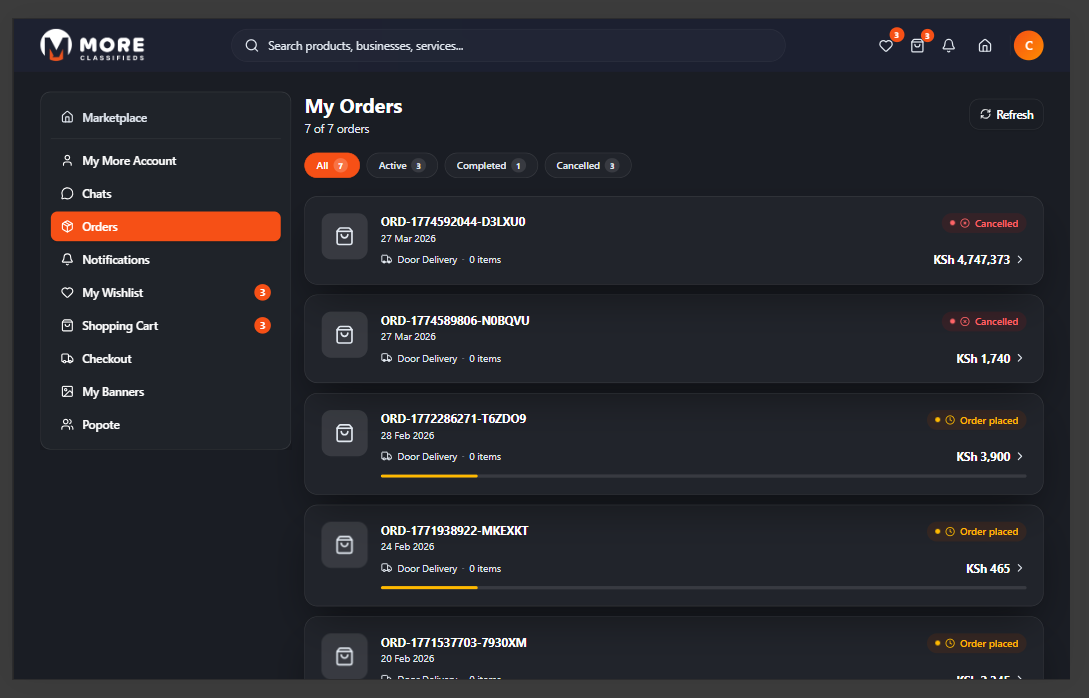
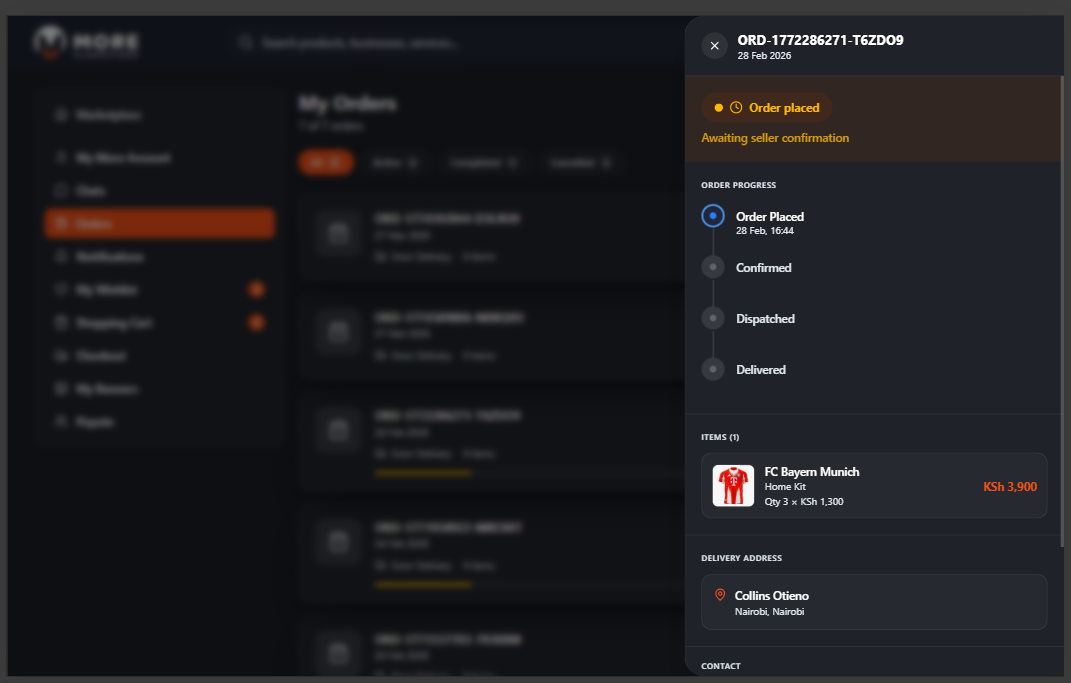
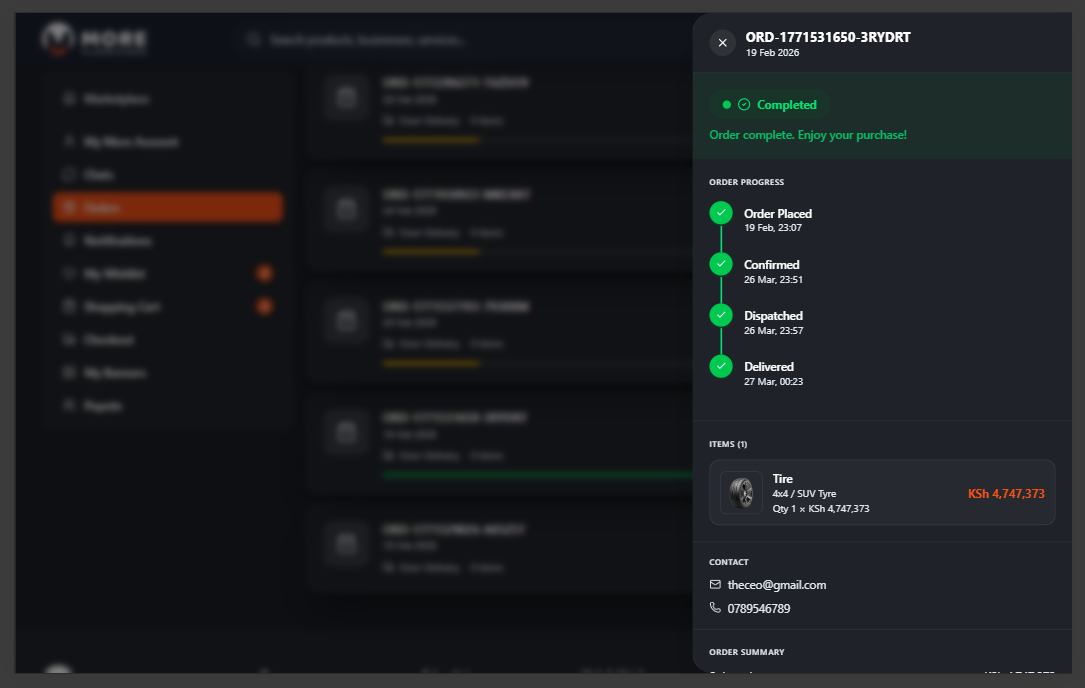
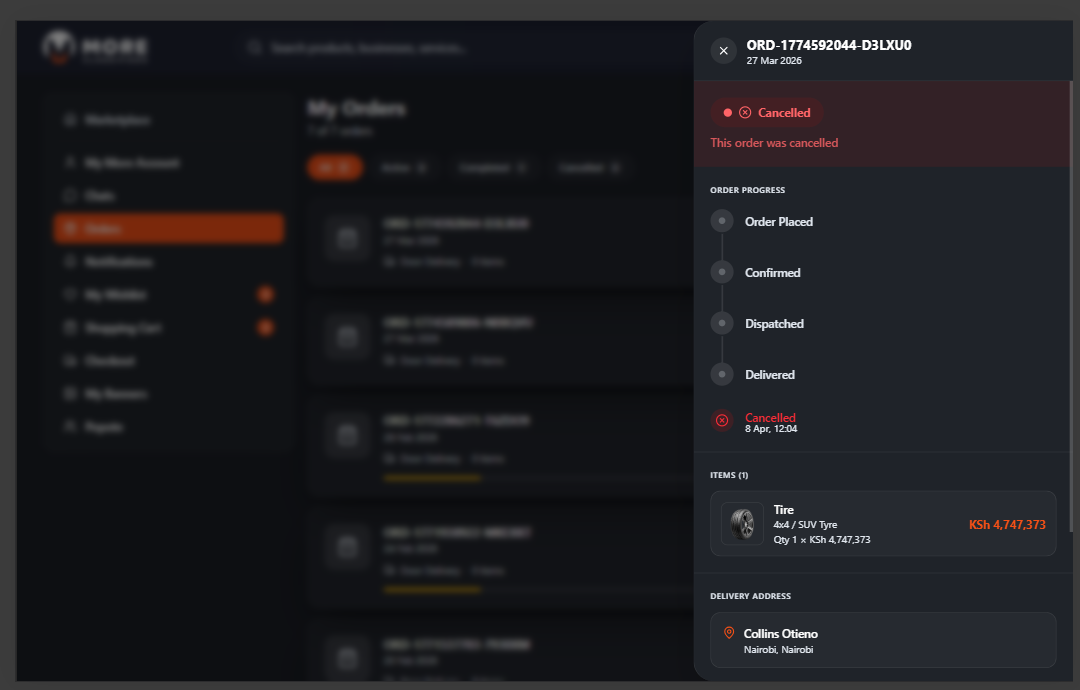
Orders
Click Orders in the sidebar to view all past and current orders. Use the tabs — All, Active, Completed, Cancelled — to filter your history. Click any order row to open its detail panel showing the progress timeline, items, delivery address, and contact info.
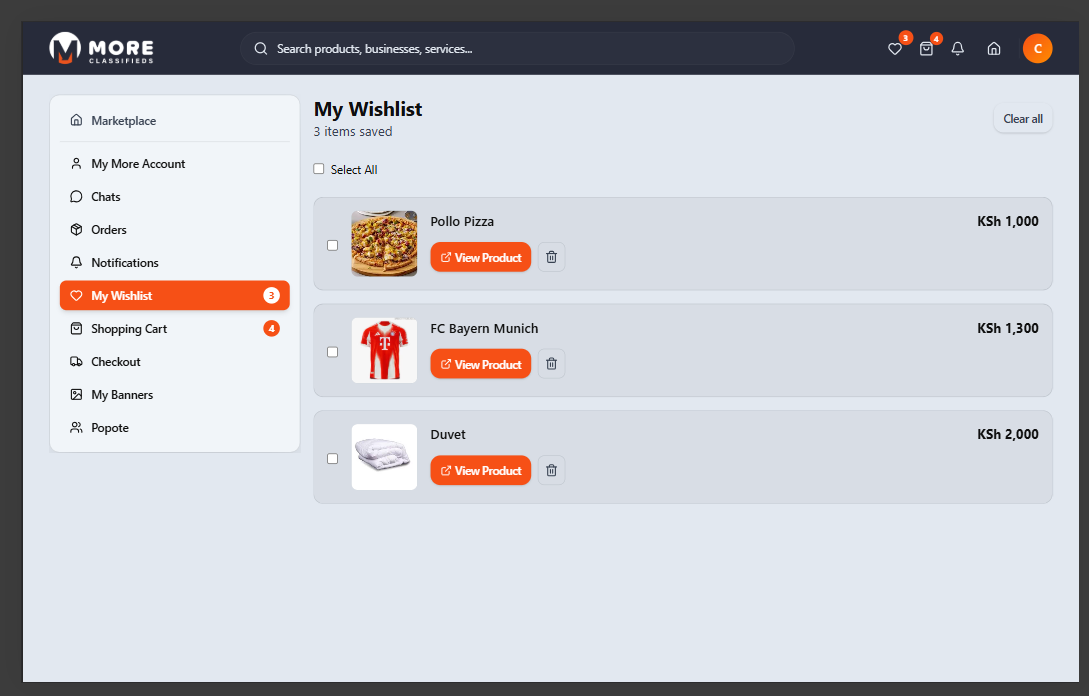
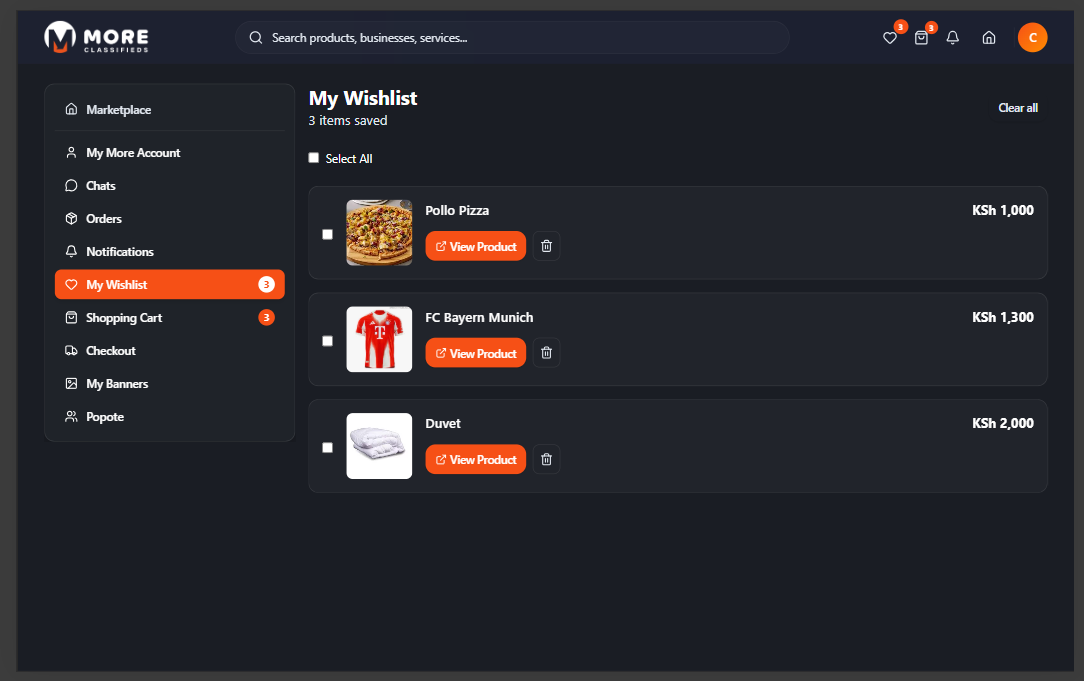
My Wishlist
Click the heart icon on any product card or product page to save it to your wishlist. Click My Wishlist in the sidebar to view all saved items.
From your wishlist you can click through to the product, add it directly to your cart, or remove it by clicking the heart icon again.
Wishlist requires login
You must be signed in to save items. Guests are prompted to log in when tapping the heart icon.
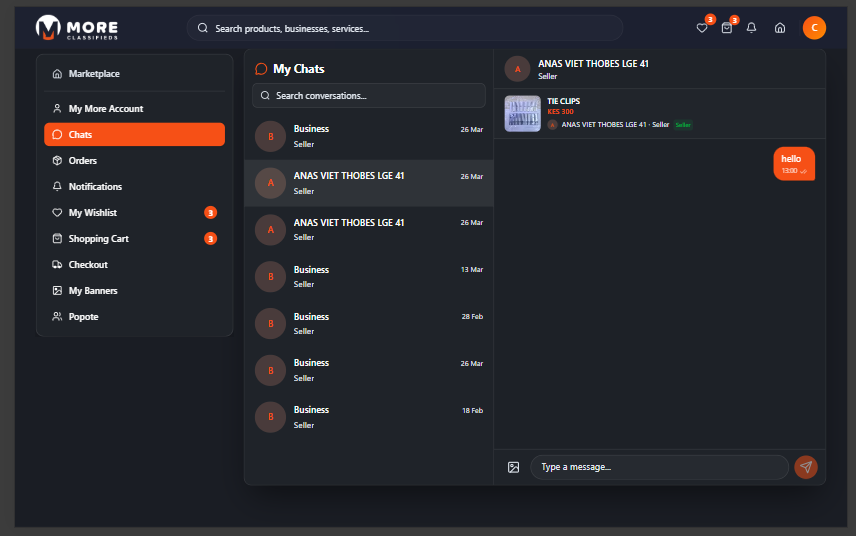
Chats
Chats lets you communicate directly with sellers before or after placing an order. To start a new conversation, open any product or business page and click Chat or Message Seller. This opens a message thread with that seller.
Click Chats in the sidebar to see all your conversations. The left panel lists all active conversations — each showing the seller name, a preview of the last message, and the time. Click any conversation to open the full thread on the right. Type your message in the box at the bottom and press Enter or click Send.
- Search — Use the search bar at the top of the conversation list to find a specific seller by name.
- Message history — All messages are saved and accessible any time. Conversations persist even after an order is completed.
- Unread indicator — Conversations with unread messages are highlighted and the Chats sidebar item shows a count badge.
Tip
Use chats to ask about availability, custom orders, pricing, and delivery lead times before placing an order. Sellers are notified of new messages in real time.
Notifications
Click Notifications in the sidebar, or tap the bell icon in the top navigation bar. A red badge on the bell icon indicates how many unread notifications you have.
Notifications are grouped by type and listed in reverse chronological order. Common notification types include:
- Order updates — Alerts when a seller confirms your order, dispatches it, or marks it as delivered.
- New messages — A notification each time a seller replies to one of your chats.
- Promotions and offers — Special deals or announcements from sellers you have interacted with.
- System alerts — Account-related updates such as password changes or verification reminders.
Click any notification to be taken directly to the relevant order, chat, or page. Notifications are marked as read once opened.
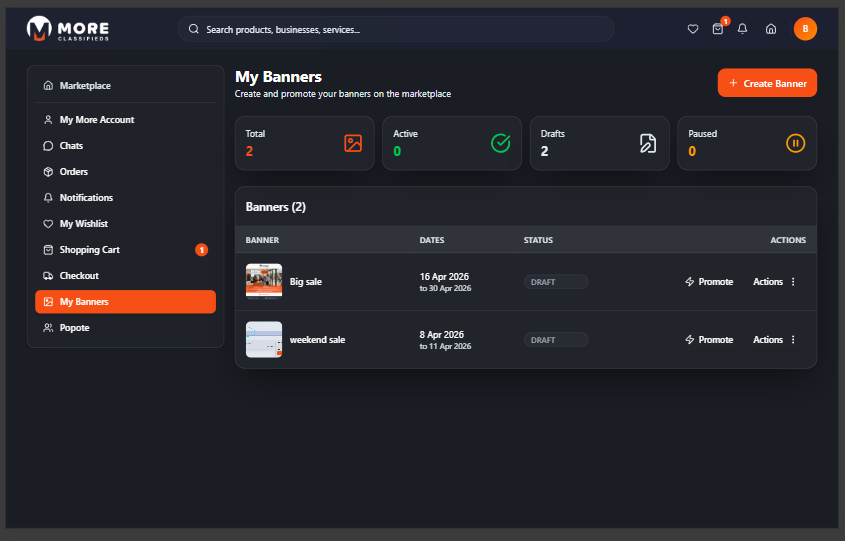
My Banners
Create promotional banners that appear on the marketplace. Click My Banners in the sidebar. The top shows stat cards for Total, Active, Drafts, and Paused banners.
Creating a Banner
Click + Create Banner. The form has two steps:
- Step 1: Details — Enter a Banner Name (required), an optional Redirect Link (where buyers land when they click your banner), a Start Date (required), and an End Date (required). The end date must be after the start date.
- Step 2: Image — Upload your banner image. Drag and drop or click to browse. Recommended dimensions:
- Hero Banner: 1920 × 480 px (4:1 ratio)
- Top Business Banner: 1280 × 480 px (8:3 ratio)
- Formats: JPG, PNG, WebP — max 5 MB
Click Upload after selecting your file, then Done to finish. You can skip the image step and upload it later from the banner detail page.
Managing Your Banners
Each banner in your list shows its name, status, active dates, and a thumbnail of the image. Use the Actions menu (three-dot icon) on any banner row to manage it:
- View — Open the full banner detail page to edit the name, link, dates, or image.
- Activate — Make the banner live on the marketplace (only available if it has an image and is within its active date range).
- Pause — Temporarily hide the banner from the marketplace without deleting it.
- Resume — Re-activate a paused banner.
- Promote — Boost the banner's visibility for a fee to reach a wider audience.
- Archive — Move the banner to your archive once a campaign has ended.
- Delete — Permanently remove the banner.
Popote Field Agent
Popote is More Classifieds' field agent programme. As a Popote agent you visit businesses, verify their identity via SMS OTP, register their business on the platform, and earn loyalty points for every business that successfully publishes.
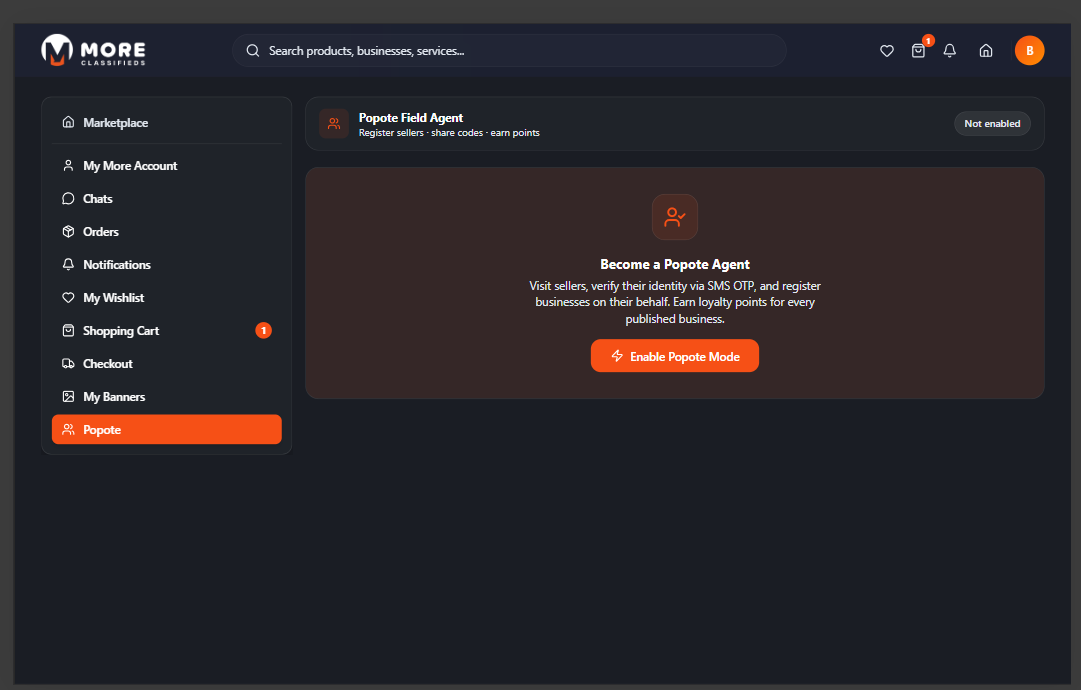
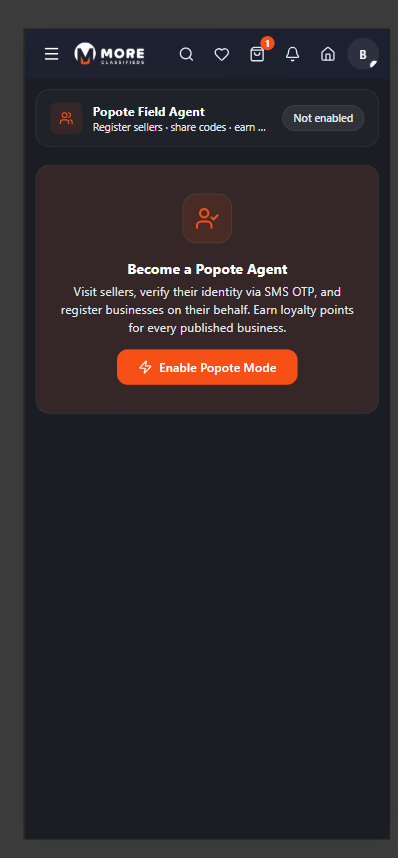
Enabling Popote Mode
Click Popote in the sidebar. Your status shows Not enabled by default. Click Enable Popote Mode to activate. Once enabled you will see:
- Points Dashboard — Your total earned loyalty points and history.
- Registration Flow — Tools to verify a seller via OTP and register their business.
Popote is optional
You do not need to enable Popote to use More Classifieds as a buyer. It is an optional programme for users who want to earn rewards while growing the marketplace community.
Need more help?
support@more.co.ke